Creating Space Planning In Home Design
Introduction
If you’re looking to make your home more appealing or to save money on upgrades and remodels, then space planning is a must. When it comes to designing your own home in SketchUp 3D, there are many benefits that come from creating your own 3D designs in Sketchup. You can add extra space by removing walls or add elements like furniture which help transform the look of any room.

Designing A Floor Plan
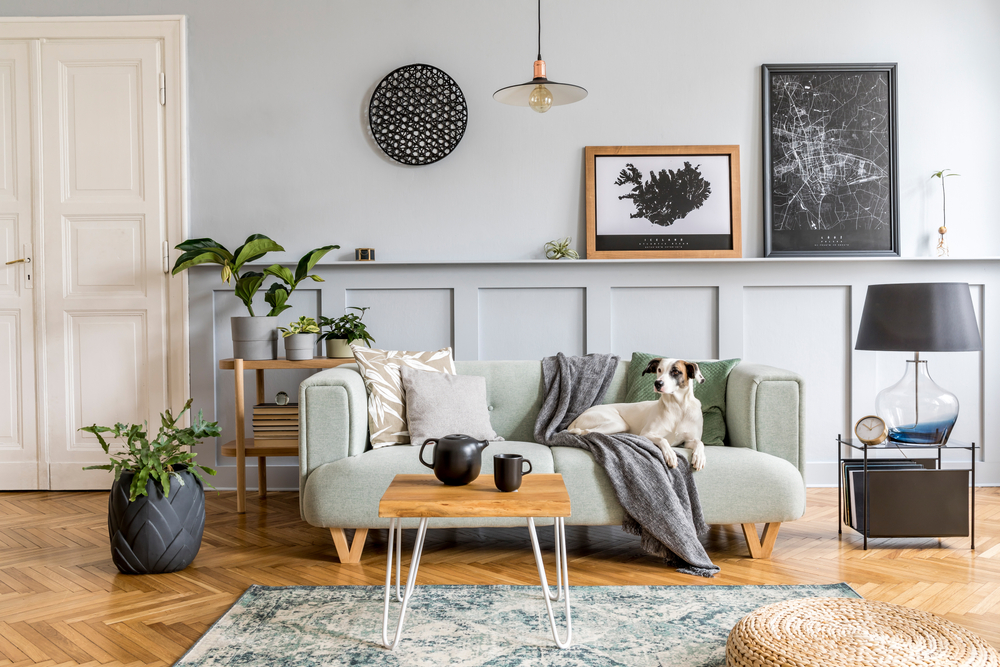
The first step in creating a floor plan is to think about how you want to use each room. For example, if you have an office area that needs a desk, then make sure that there’s enough room for one. If not, consider moving some furniture around so it fits in the space available or choose another room for your office instead. This may seem like an obvious suggestion but it’s important not to overlook this step because if you do then everything else will fall apart later on when we start putting our ideas together!
Next up: decide what kind of furniture goes where? It might seem obvious at first glance but don’t forget that there are plenty of other things besides desks and chairs (such as TVs) which could also take up valuable space when placed too close together – especially if someone wants somewhere comfortable where they can relax while watching their favorite shows!
The Importance of Space Planning
Space planning is a crucial part of home design and it’s important to understand the importance of space planning before you start working on your project.
Space planning helps you to plan for the future, make the most of your space, and ensure that your home is functional.
How to Create a Floor Plan in SketchUp 3D
Creating a floor plan in Sketch-Up is a fairly simple process. First, you need to create a new model by clicking File > New or pressing CTRL+N on your keyboard. Once this is complete, select “Floor Plan” from under Create > Model Type on the left side of your screen (or click here). This will generate an empty room that we can begin designing our space around.
Next, add walls and doors as needed by clicking on them in the 3D viewer or Grid view below it; they should appear red when selected so that you know what items are selected at any given time! When adding windows or furniture pieces like beds or chairs etc., simply click where they should go onscreen until they turn green – this means they’re ready for use!
Using the Move and Rotate Tools
- The Move Tool. The Move tool allows you to move an object in your scene by clicking on it and dragging it around. This is useful for fine-tuning the position of things like furniture or lamps when the scene is still being built out, but should be used sparingly as a permanent solution because it can cause problems if you need to make changes later on.
- The Rotate Tool. The Rotate tool allows you to rotate an object by clicking on it and dragging around its center point (a red dot). This tool can be helpful in adjusting how something looks from different angles without needing to reposition anything else nearby–for example, turning lamps into spotlights by rotating them towards their target area.*
Using the Measure Tools
The Measure tool is a great way to measure the distance between two points. It can also be used to find the angle of an object, which is useful when you’re trying to make sure everything lines up properly.
Adding Doors, Windows, and Furniture to Your Layout
- Add doors and windows to your layout. To add a door, click the Door icon on the toolbar.
- Click where you want it to go and then drag it into place. You can use this same process for adding windows as well.
- To add furniture, click on any item in the Furniture section of the panel menu at left (or press F). You’ll see what looks like an empty box appear; this means that no objects have been added yet! You can then drag items into this box from either side or type their names directly into it if they’re already there so that they appear when you’re done typing them out.
Tips for Creating More Realistic Designs
When creating space plans, it is important to consider a few things. First, the size of your room and furniture are important factors. You want to make sure that you have enough room for everything in your home, especially if there are multiple people using the same space.
Second, consider how much existing furniture will be used in each room and how much new furniture needs to be purchased or built for optimal functionality. Thirdly, think about how many people need access to certain areas within the space plan (i.e., bedrooms). Finally, consider what other features such as lighting might need changing before finalizing any design decisions!
There are many benefits that come from creating your own 3D designs in Sketchup.
There are many benefits that come from creating your own 3D designs in Sketchup.
- You can easily share your design with others.
- You can use it to create a floor plan for the house, or even just an overview of how everything fits together. This is especially useful if you’re working with an architect or contractor who needs to see what you’re planning before they start building anything concrete.
- You can use it to create a 3D model of the house as well (or multiple models), which will help people visualize what it would actually look like when finished–and this could be useful if someone wants to buy your home someday!
Conclusion
We hope that this article has given you a better understanding of the benefits of creating your own 3D designs in SketchUp. It can be a very rewarding experience and one that will help you create better-designed homes. We also want to thank all our readers who have taken the time to read this article and share their thoughts with us!